
Showing 51 of 51 facilities
Browse Facilities
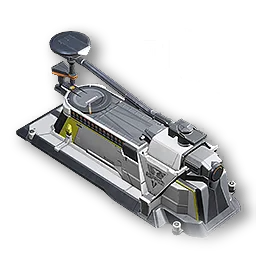
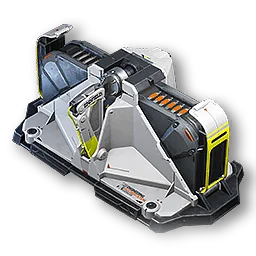
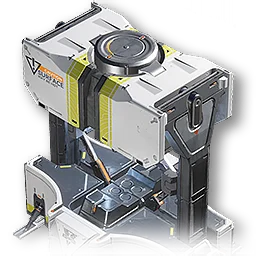
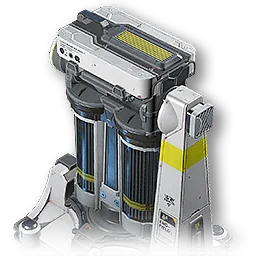
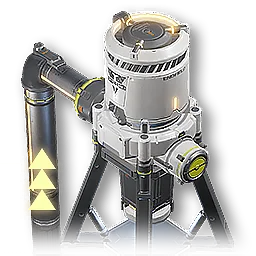
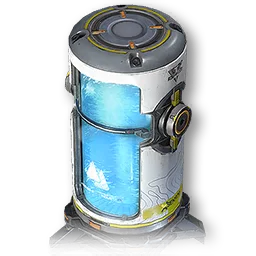
Filling Unit
A facility capable of filling containers with various materials.
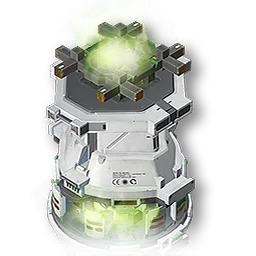
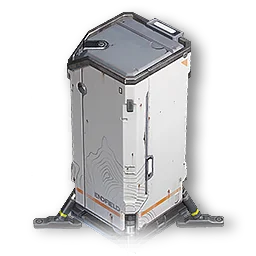
Forge of the Sky
A facility for making Xiranite-based products.
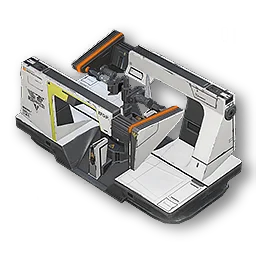
Gearing Unit
A facility that laminates different materials together to create gear components.
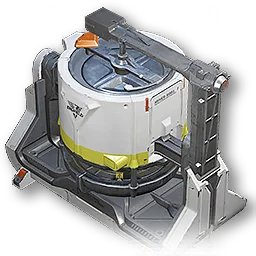
Grinding Unit
A facility that performs fine grinding of powdered materials.
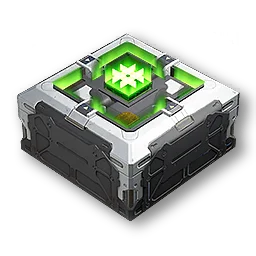
Packaging Unit
A facility for packaging certain power components.
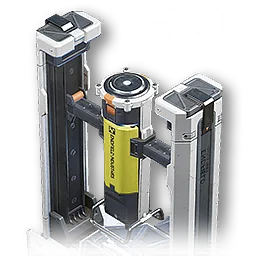
Reactor Crucible
A facility for running solid or liquid-state chemical reactions.
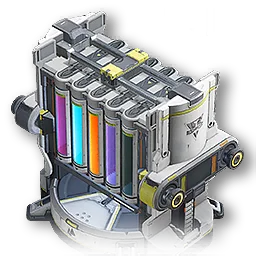
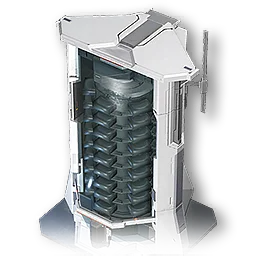
Separating Unit
A facility that physically separates various items.
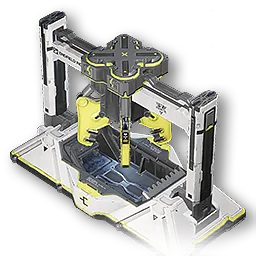
Fitting Unit
A facility capable of processing various parts and components.
Moulding Unit
A facility that produces various containers via stamp moulding.
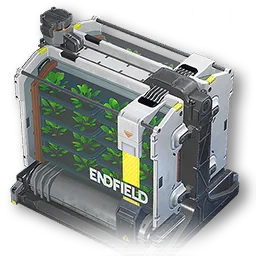
Planting Unit
A silo for growing various common plants and crops.

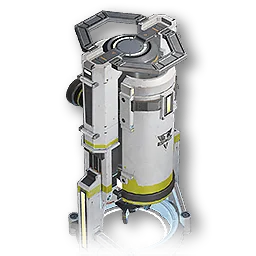
Refining Unit
A facility that performs high temperature smelting of various materials.
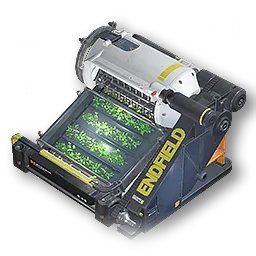
Seed-Picking Unit
A facility that extracts seeds from common crops.
Shredding Unit
A heavy facility that shreds and pulverizes various materials.
Water Treatment Unit
A facility for processing Sewage. It can also process Xircon Effluent and Inert Xircon Effluent, albeit with limited efficiency.
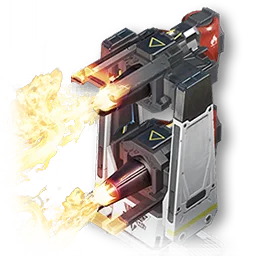
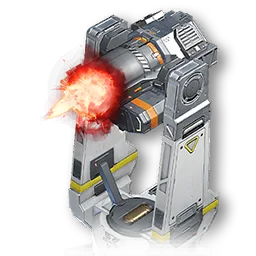
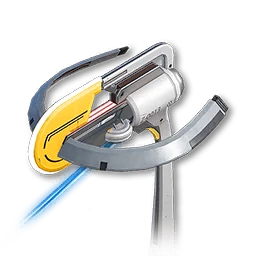
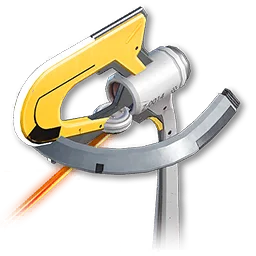
AF1 Armor Fragger
ATK: 17252 Mode of Attack: Fires a flaming jet to attack approaching enemies. The flaming jet deals Heat DMG over time to enemies within range.

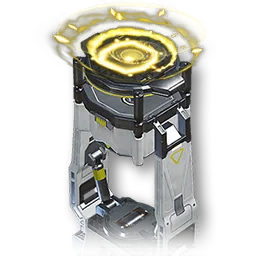
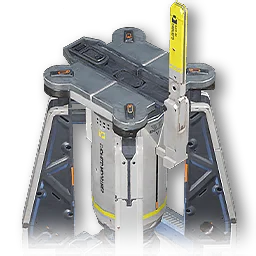
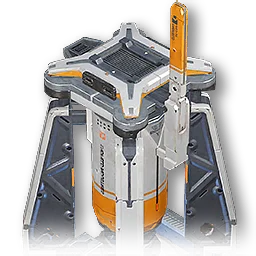
Beam Tower
ATK: 22338 Attack Interval: 8s Mode of Attack: Consumes vast amounts of energy to emit a beam that deals massive Electric DMG to enemies.
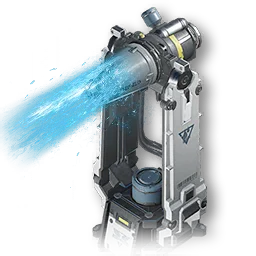
Deluge Tower
Attack Interval: 5s Mode of Attack: Fires a stream of deluge at approaching enemies. The stream pushes back small and medium enemies along the direction of the attack.

Grenade Tower
ATK: 981 Attack Interval: 3s Mode of Attack: Launches grenades in a ballistic trajectory. The grenades detonate above ground near enemies and deal area of effect Heat DMG.
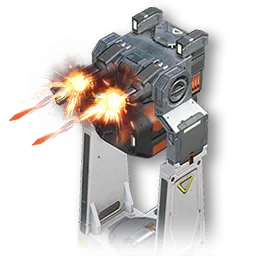
Gun Tower
ATK: 609 Attack Interval: 2s Mode of Attack: Continuously fires energy bolts that deal Physical DMG.
HE Grenade Tower
ATK: 5585 Attack Interval: 3s Mode of Attack: Attacks enemies by launching Mk Ⅱ grenades along a ballistic trajectory that detonate above ground near enemies. The grenade explosion deals area of effect Heat DMG and leaves a burning zone that deals DMG to enemies within it.
Heavy Gun Tower
ATK: 2136 Attack Interval: 2s Mode of Attack: Continuously fires Mk II energy bolts with every 4th shot being an empowered bolt. The bolts deal Physical DMG.
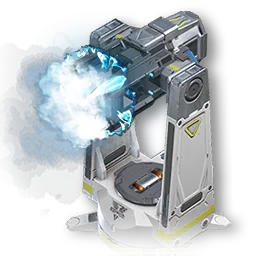
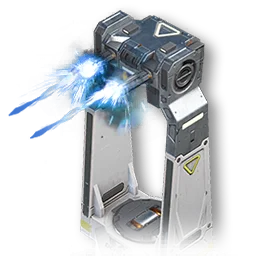
LN Tower
Attack Interval: 5s Mode of Attack: Fires special liquid nitrogen (LN) crystals that shatter upon impact to slow the movement speed of enemies in the area of effect.
Marsh Gas Mk I
ATK: 5485 Attack Interval: 5s Mode of Attack: Launches special mist grenades that detonate above ground near enemies. The mist grenade explosion deals Nature DMG over time and applies slow to enemies within the area of effect.
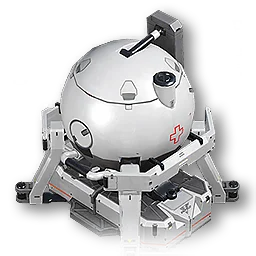
Medical Tower
Minimum HP Treatment Interval: 5s Converts electrical power into healing arts that can treat injured operators nearby.
Omnidirectional Sonic Tower
Attack Interval: 5s Mode of Attack: Fires a shockwave that stuns common and advanced enemies within the area of effect.

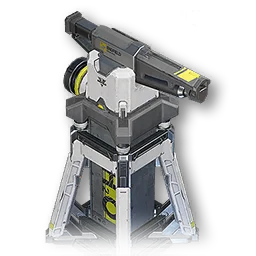
Sentry Tower
ATK: 11634 Attack Interval: 5s Mode of Attack: Unleashes long-range attacks that target high-threat enemies first and deal massive Physical DMG.
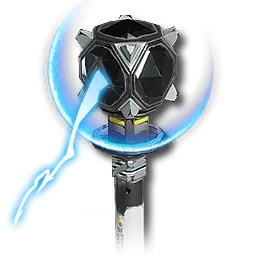
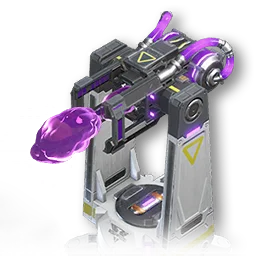
Surge Tower
ATK: 4886 Attack Interval: 3s Mode of Attack: Releases electrical arcs that attack enemies. The arc also chains to nearby enemies (up to 2) and deals Electric DMG.

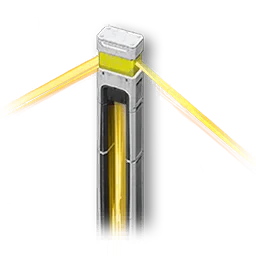
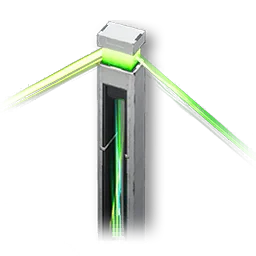
Electric Pylon
Once connected to the power grid, this pylon can wirelessly power all Endfield facilities within a sizable area. Researching certain AIC Factory Plan technologies also gives this facility a 30-meter power transmission capability.
Relay Tower
This relay can be used to transmit power to other facilities within an 80-meter radius. Researching certain AIC Factory Plan technologies also lets this facility wirelessly supply power to other Endfield facilities within a small area.

Thermal Bank
The Thermal Bank converts heat into electrical power. It must be connected to the power grid to work.

Xiranite Pylon
When outside the Core AIC Area, this facility auto-connects to the PAC and Xiranite Relays within an 80-meter radius; and to Xiranite Pylons and other power facilities within a 30-meter radius. However, it cannot connect to other power facilities within the Core AIC Area. When inside the Core AIC Area, it only auto-connects to the PAC. This facility can be used for powering facilities within range and power transmission across short distances.
Xiranite Relay
When outside the Core AIC Area, this facility auto-connects to the PAC and any Xiranite power facilities within an 80-meter radius. However, it cannot connect to other power facilities within the Core AIC Area. When inside the Core AIC Area, it only auto-connects to the PAC. This facility can be used for power transmission and powering facilities within a short range.
Easy Stash
A facility that allows quick access of items in the Depot.
Fluid Supply Unit
A facility for dispensing fluids.

Memo Beacon
A facility that can be used to post and leave beacon memos.
Sprinkler
A facility that sprays fluids in a fixed direction.
Zipline Pylon
A small zipline facility that can be connected to another zipline facility within an 80-meter radius to create a zipline.
Zipline Tower
A large zipline facility that can be connected to another zipline facility within a 110-meter radius to create a zipline.
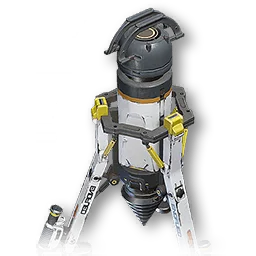
Electric Mining Rig
Requires power. This mining rig can mine Originium Ore and Krystallite.
Electric Mining Rig Mk II
Requires power. This mining rig can mine Ferrium Ore and other minerals.
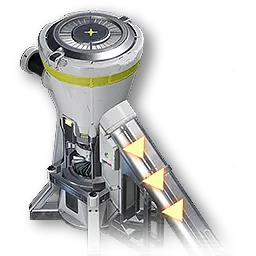
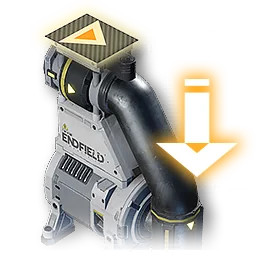
Fluid Pump
A facility for pumping fluids.
Hydro Mining Rig
A mining rig for digging up various types of ore such as Cuprium Ore. This rig does not need power as it can be driven with Clean Water.
Portable Originium Rig
A mining rig for digging up Originium Ore. This rig does not need to be connected to the power grid to work as it powers itself using the Originium it mines.
Conduit Inlet
An inlet for an underground pipeline. Connect this to a matching Conduit Outlet to transport fluids through it.

Conduit Outlet
An outlet for an underground pipeline. Connect this to a matching Conduit inlet to transport fluids through it.
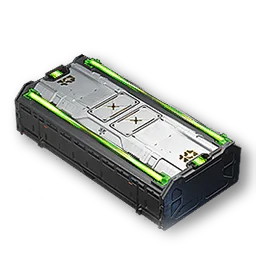
Depot Bus Port
The origin of the Depot Bus. The Depot Bus Port can be placed anywhere in the Core AIC Area.
Depot Bus Section
A bus section that can be deployed in the Core AIC Area. The Depot Bus Section must be connected to a Depot Bus Port or other active Depot Bus Sections. Once active, Depot Loaders and Depot Unloaders can be attached to the Depot Bus.
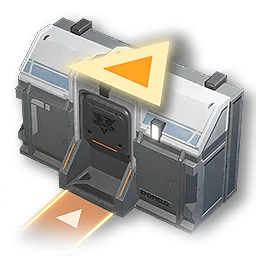
Depot Loader
A placeable loading point that delivers goods from the AIC Factory to a local depot. The Depot Loader must be placed right next to the Depot Bus.
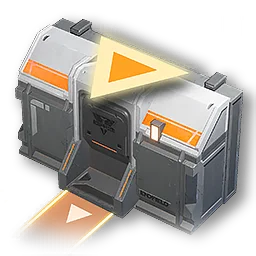
Depot Unloader
A placeable unloading point that transfers goods from a local depot into the AIC Factory. The Depot Unloader must be placed right next to the Depot Bus.
Fluid Tank
A facility for storing fluids.
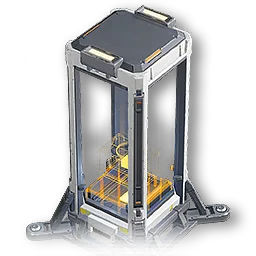
Protocol Stash
A storage facility with several item storage slots. When powered, it can transfer items to the Depot. It can also be used as a point to unload items in the AIC.
No facilities found
Try adjusting your search or filters.

Sponsored. We may earn a commission at no extra cost to you.