AIC FACTORY OPTIMIZATION
Throughput, Production Ratios & Efficiency Strategies
Last updated: 2026-02-17
Credit: This guide is based on research and analysis by u/Ra1nfr0g from the r/Endfield community. Talos Hub has expanded and organized this content with permission.
* TL;DR - Key Concepts
- * Ports are your hard throughput cap -- maximize output ports, minimize input ports
- * Depot Loaders are traps -- Protocol Stashes give better port density
- * Don't store multipliers -- grinding sandleaf gives 3x, seeds give 2x
- * Feed your machines properly -- underfeeding kills utilization
- * Fast lanes don't merge, slow lanes do -- belt speed math matters
- * Inefficient late-stage manufacturing is the worst thing you can do
Contents
Core Terminology
Before diving into optimization strategies, understand these key terms. All math assumes the line is saturated -- when upstream meets or exceeds downstream demand.
Throughput
How fast finished products exit your system, measured in units per second (unit/s).
Flow Rate
The game's term for belt speed. Capped at 0.5 unit/s. This is the speed limit for everything.
Bottleneck
The one thing choking your throughput. Fix it and output goes up until you hit the next one.
Utilization
What percentage of a machine's max output you're actually getting. 0.25 unit/s when max is 0.5 = 50% utilization.
JIT (Just In Time)
Inputs arrive exactly when needed, no buffer buildup. The ideal state for efficiency.
Backpressure
When output is so full that upstream production halts. Caused by merging fast lanes together.
Port
Input/output connection to the depot. Each port = 0.5 unit/s. Your hard ceiling.
Bus
A single conveyor line. Multiple items can share a bus if their combined throughput fits.
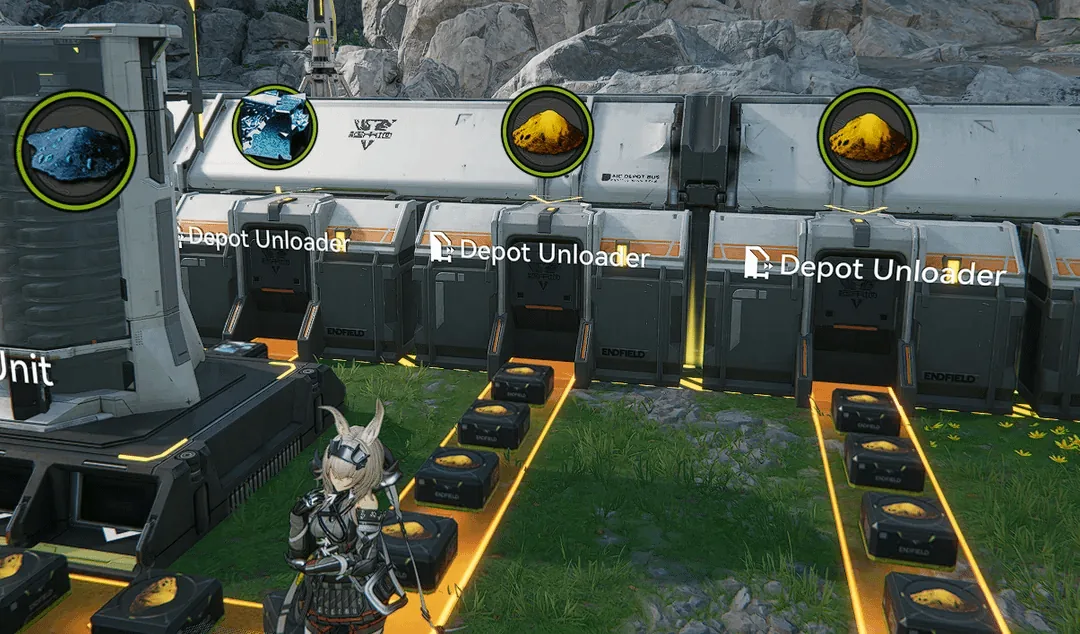
Port Space Maximization
The primary limiter of throughput is how many output ports you can fit. Since all ports and conveyors flow at 0.5 unit/s, there's no way to improve upstream throughput beyond port count. Maximize output ports for maximum throughput.
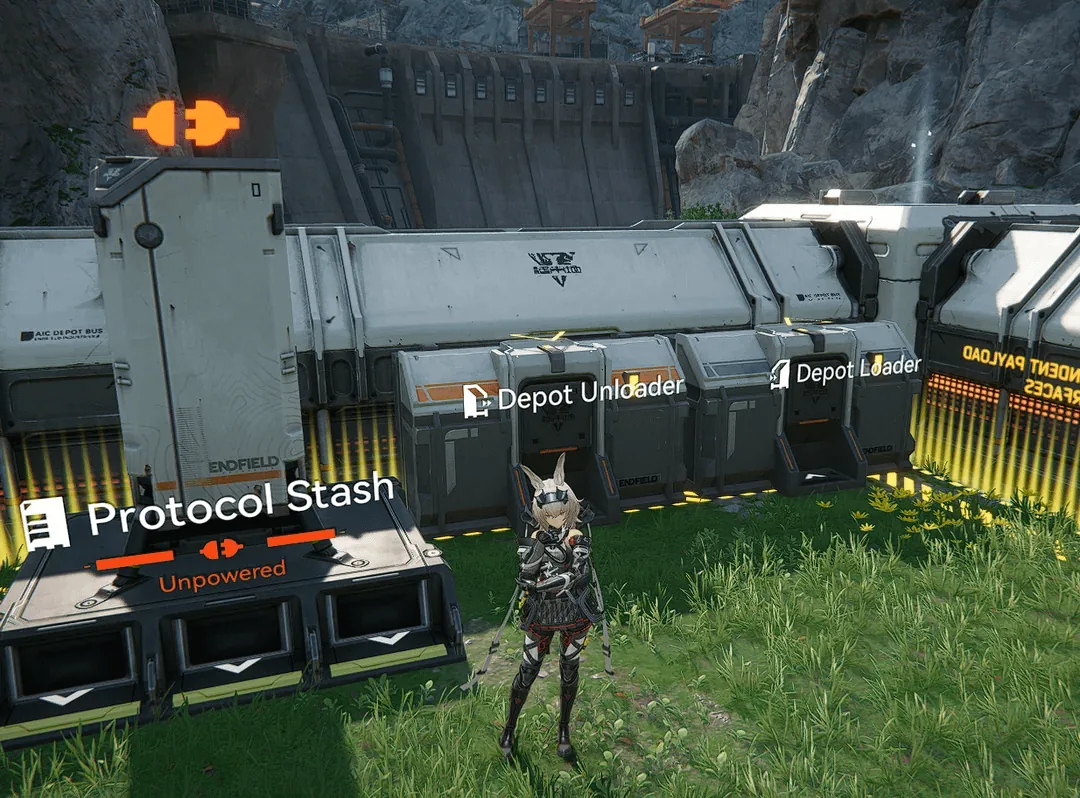
Depot Loaders Are Traps -- Don't Use Them
Simple math: an output port at the PAC takes 3 tiles, the same as a depot unloader. You get 0.33 ports per tile. In the PAC input port, you get 7 on a 9-tile side. That's 0.77 ports per tile.
Using a depot loader gives you worse ports per tile (0.33 vs 0.77) AND you lose the opportunity to use a depot unloader in that space. Every depot loader decreases your throughput ceiling.
A Protocol Stash gives you 0.33 ports per tile (3 depot inputs for 9 tiles) without the opportunity cost. It's strictly better.
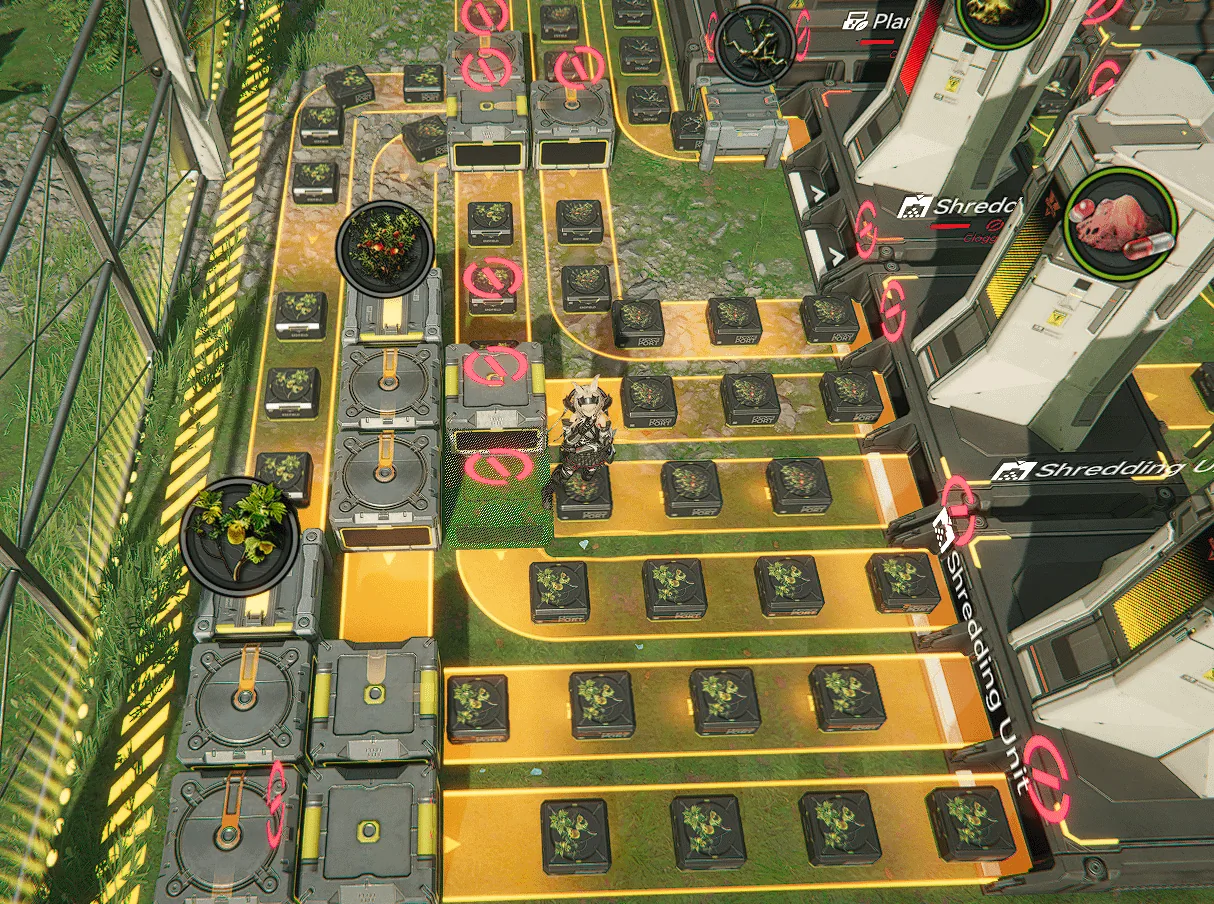
Don't Waste Ports
The only resource that effectively multiplies port throughput is grinding sandleaf to make seeds or powder. 3 sandleaf powder from 1 plant = 3x throughput increase. If you store powder then pull from storage, you waste that multiplier.
Throughput Multipliers
When you're port-limited, these multipliers are your only way to increase effective throughput. But you must use them correctly.
Sandleaf → Powder
1 Sandleaf → 3 Sandleaf Powder via Shredder. This is a 3x throughput multiplier. Process on-site before storing.
Plants → Seeds
Seed-Picking Unit: 1 Plant → 2 Seeds. This is a 2x throughput multiplier. Loop seeds back to planting.
Golden Rule: Don't Store Multipliers
Any throughput multiplier should be used immediately. If you store it in the depot and pull it out later, you throw away your throughput advantage. Process at the source, then transport the finished product.
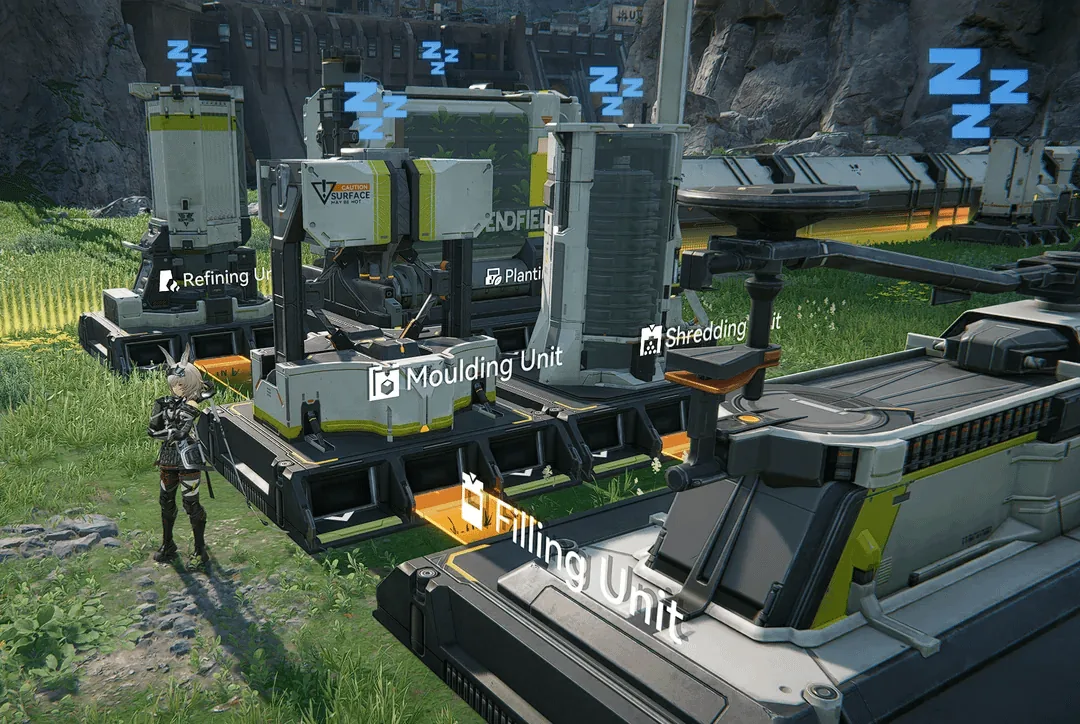
Machine Ratio Calculations
Underfeeding machines is one of the most common efficiency killers. You must match upstream output to downstream demand.
The "Layman's" Filling Machine Problem
A common design: 1 ferrium/amethyst line feeds a moulding machine that feeds a filler. Seems fine, but it's a bottleneck.
Here's why: it takes 2 units of intermediates to make 1 bottle. If you only feed 1 unit, you're running the moulding machine at 50% utilization.
A Filling Machine using Ferrium bottles requires 10 bottles + 10 powder every 10 seconds. Belt moves max 5 units per 10 seconds. Need 10 units per 10s for JIT.
The Math
- - Filler needs 10 bottles + 10 powder in 10s
- - Belt moves max 5 units per 10s
- - You get: 2.5 bottles (50% utilization) + 5 powder (100%)
- - Throughput = 25% of potential!
Feed Your Machines!
There's no free lunch. If you're port-limited and trying to cram machines, 2 machines at 50% give the same output as 1 at 100% -- but take more space. Don't split inputs from a port across multiple machines; you're just distributing the same input, not increasing throughput.
Conveyor Belt Logic
Every conveyor belt has a rate of 0.5 unit/s. This is unchanging. Optimize by matching machine speed to belt capacity.
Fast Machines Need Fast Lanes
Refineries and processors operate at 0.5 unit/s -- same as belt speed. Each input/output should have its own bus. Merging causes backpressure (two machines fighting for belt space).
Slow Machines Take It Easy
Fillers and packagers take 10s to produce = 0.1 unit/s. Belt is mostly empty. Merge slow outputs together to maximize belt efficiency.
Splitters Are Division, Convergers Are Addition
Think of it mathematically:
- - Two-lane splitter = divide output by 1/2
- - Three-lane splitter = divide output by 1/3
- - Two-lane converger = add throughput of two lines
Bad: Merging fast lanes (1 + 1 onto 0.5 capacity = backpressure)
Good: Merging slow lanes (0.1 + 0.1 fits easily on 0.5)
The Wean Tax Technique
Chain splitters together to route small fractions of a line elsewhere. Taking 1/32 of an amethyst part line is negligible -- you pay a tiny cost to build up a buffer of crafting materials without degrading main line performance. This is how routing multiple belts off a machine works.
Profitability Table
Here's how different battery configurations perform. $/Port/s = money-making efficiency per port. Purple @ 100% with on-site sand production is the best.
| Battery Type | Sale Price | Ports | $/Port/s | Power/s | Yield |
|---|---|---|---|---|---|
| Green @ 50% (1/1 bus) | 16 | 2 | 0.40 | 11 | 3/min |
| Green @ 100% (2/1 bus) | 16 | 3 | 0.53 | 22 | 6/min |
| Blue @ 33% (1/1 bus) | 30 | 2 | 0.50 | 14 | 2/min |
| Blue @ 100% (3/2 bus) | 30 | 5 | 0.60 | 42 | 6/min |
| Purple @ 17% (1/1, w/ sand) | 70 | 4 | 0.29 | 18.5 | 1/min |
| Purple @ 100% (no sand) | 70 | 15 | 0.47 | 111 | 6/min |
| Purple @ 100% (w/ sand) | 70 | 10 | 0.70 | 111 | 6/min |
Key Insight
If you build purple lines naively (1/1 bus or not using sand throughput multipliers), they're objectively the worst items in the game. You get worse efficiency than green or blue. To make purple worth it, you MUST optimize with proper ratios and on-site sand processing.
Related Guides
Frequently Asked Questions
What is the hardest throughput limiter in Endfield's factory system?
Ports are the theoretical hard cap for throughput. Since all ports and conveyors flow at the same rate (0.5 unit/s), and each conveyor can only carry one item, maximizing the number of output ports is critical. Depot Loaders actually decrease your throughput ceiling compared to using Protocol Stashes.
Why are Depot Loaders bad for factory efficiency?
A Depot Loader takes 3 tiles but provides only 1 port (0.33 ports per tile). An input port on the PAC provides 7 ports on a 9-tile side (0.77 ports per tile). Using Depot Loaders wastes tile space and reduces your total throughput ceiling. Protocol Stashes provide 0.33 ports per tile without the opportunity cost of decreasing total throughput.
How do throughput multipliers work in Endfield factory?
The main throughput multiplier comes from grinding Sandleaf -- 1 Sandleaf plant becomes 3 Sandleaf Powder. This is a 3x port throughput increase. Similarly, Seeds turn 1 plant into 2 seeds (2x). You should avoid storing these multipliers before using them, because storing intermediate products wastes potential throughput when you're port-limited.
What happens if I underfeed my production machines?
Underfeeding machines severely hurts your throughput. For example, a Filling Machine needs 10 bottles and 10 powder every 10 seconds. If your belt only delivers 5 bottles (due to underfeeding), you get 50% utilization. Always ensure your upstream production meets or exceeds downstream demand to maintain 100% utilization.
When should I merge slow output belts together?
Fast machines (refineries, processors) output at 0.5 unit/s, same as belt speed -- never merge their outputs or you'll cause backpressure. Slow machines (fillers, packagers) take 10s to produce something, outputting at 0.1 unit/s. These sparse outputs can be merged to maximize belt efficiency. Think of fast lanes as 'high traffic' roads and slow lanes as 'low traffic' roads.